Product classes
Introduction
In Telaris, product classes work in a similar way to account classes in accounting. The purpose of product classes is to link groups of products to specific accounts in the accounts. In addition, the system allows you to add custom fields for each product class, so that relevant additional information is shown on the product card for each class. There is also an option to link products in a class to a fee product, such as a recycling fee
TABLE OF CONTENTS
Basic functions
This guide explains how to use the product classes feature in Telaris. With product classes you organise products into different classes to link groups of products to specific accounting accounts, as well as the option to create custom product fields for each class.
Located in the side menu under Products -> Product class.
Creating or editing a product class
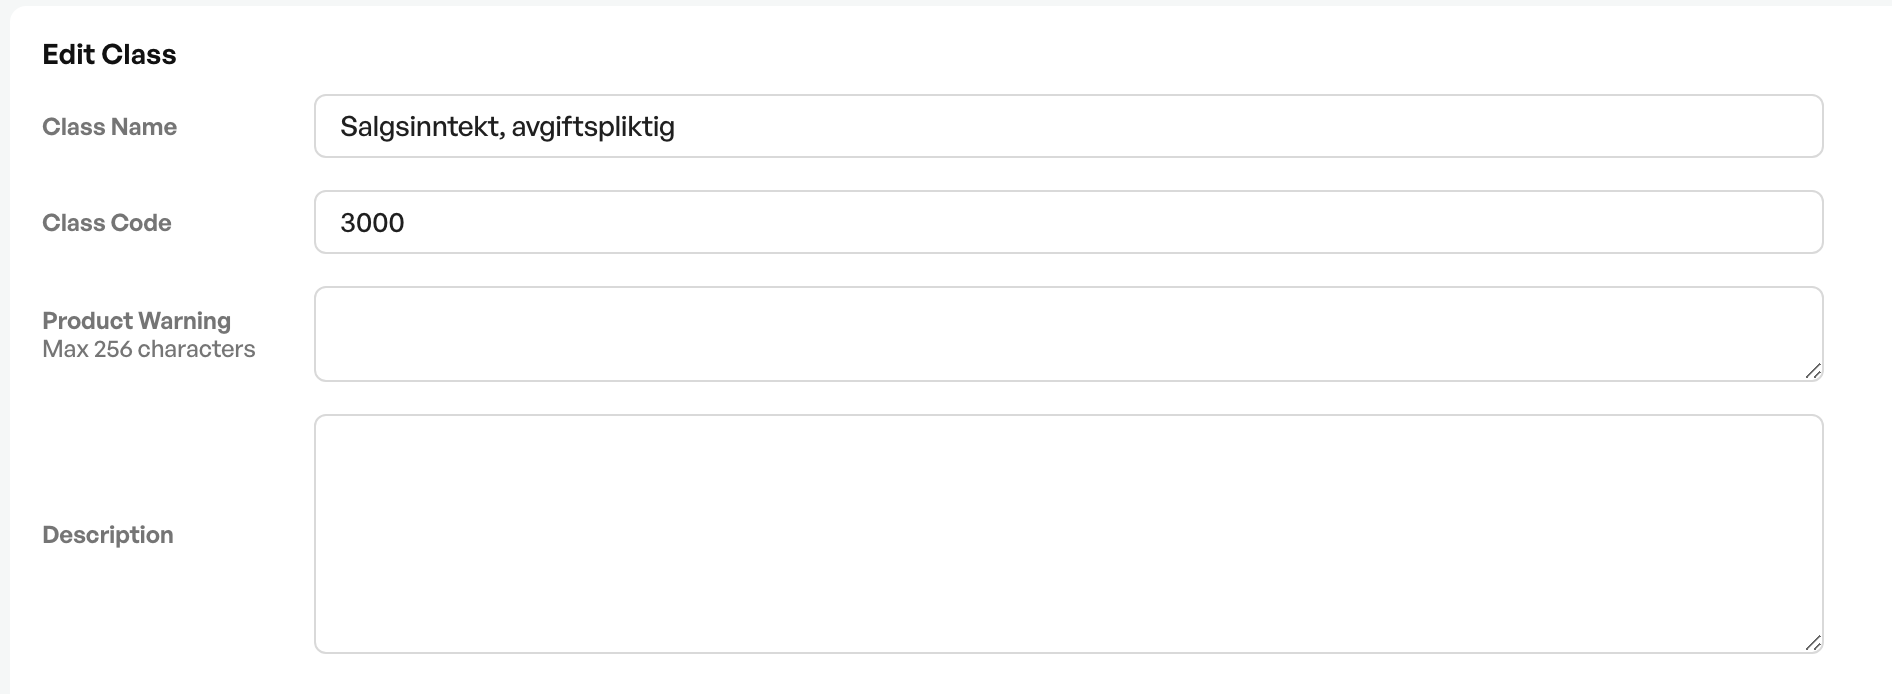
Name, Class code, notice and description
To create a product class, start by clicking the "Add new" button.
To edit a product class, click an existing one in the list, and the information from the product class is shown in the fields below

You then get an empty class where you fill in information. In the example below, the class name is "3000 Sales incl. VAT". This is shown on the product card for products in the selected class. It is recommended to start the class name with the account, as done in this example, since this makes it quicker to see the selected account from the product cards.
Class code
Recommended. Used in export and import tables, for example in reports
Product notice
Not required. Used in cases where a Telaris web shop is connected, and will be shown on the product page in the web shop.
Description
Not required. Internal description of the product class, if relevant
Optional settings
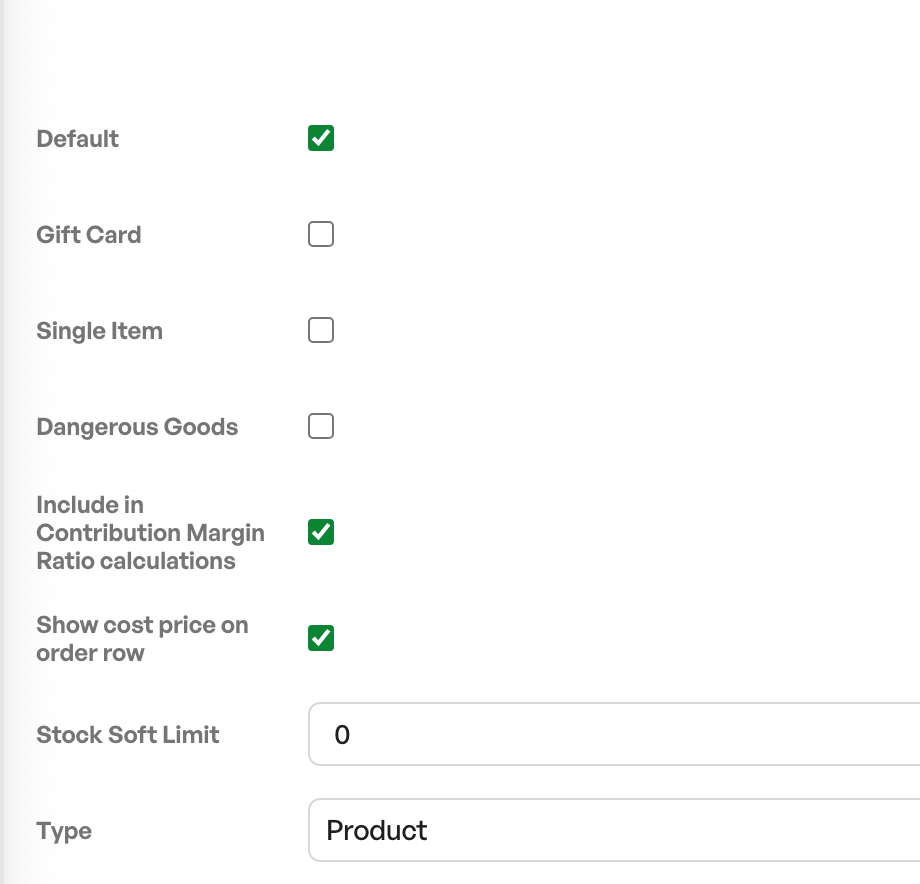
Default
If this is enabled, all new products are automatically assigned to this product class
Include in contribution margin calculations
If this is enabled, products in the product class show contribution margin (CM) on order lines
Finance settings
Default VAT%
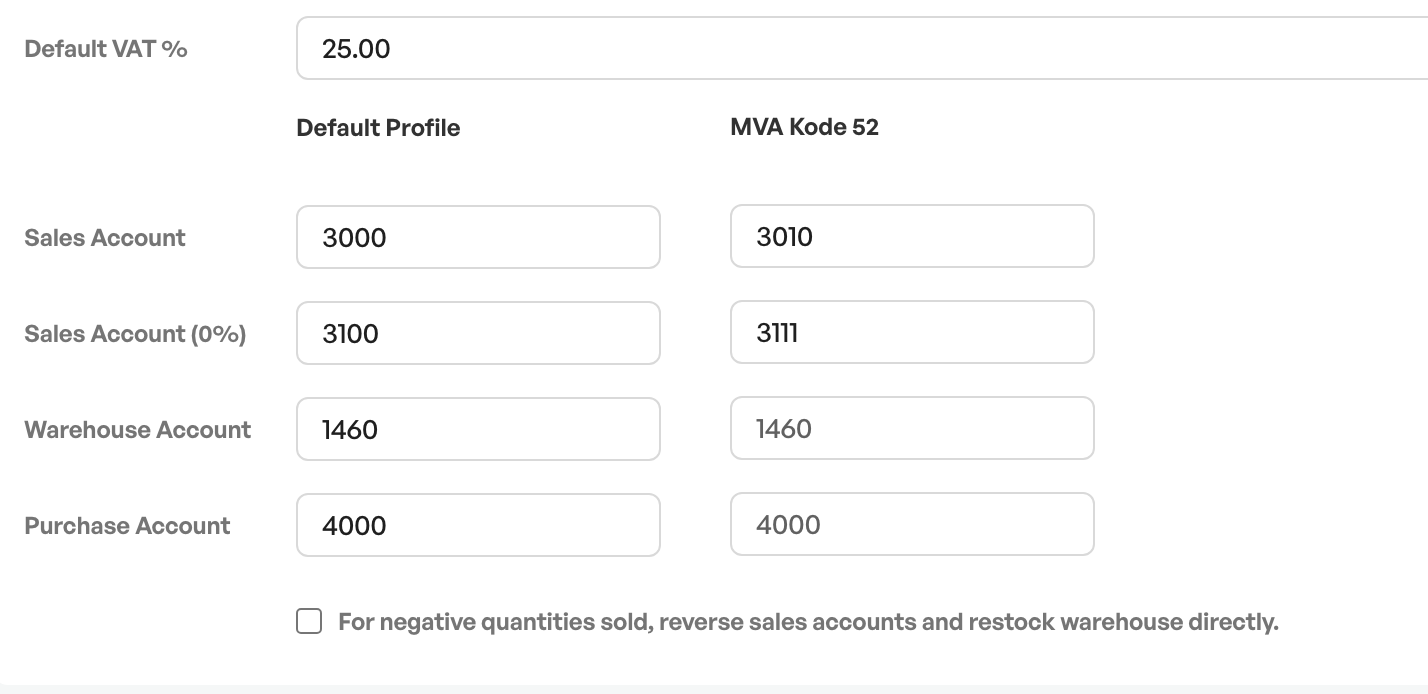
Required. Setting for choosing the default VAT rate for products in the product class. This rate automatically follows the product by default on the product lines, and also applies when transferring to the integrated accounting program.
Taxable sales account
Required. The taxable sales account set for the product class. If the product is taxable, this account is used when transferring to the integrated accounting program. Note that all product classes must have both a taxable and a tax-free account in the setup.
Sales account (0%)
Required. The tax-free sales account set for the product class. If the product is tax-free, this account is used when transferring to the integrated accounting program. Note that all product classes must have both a taxable and a tax-free account in the setup.
Stock withdrawal account
Not required. Used when you want a separate withdrawal account for stock items
Cost of goods account
Not required. Used when you want a separate consumption account for products
NOTE: All product classes must have both a taxable and a tax-free account in the setup
Linking a product to a product class
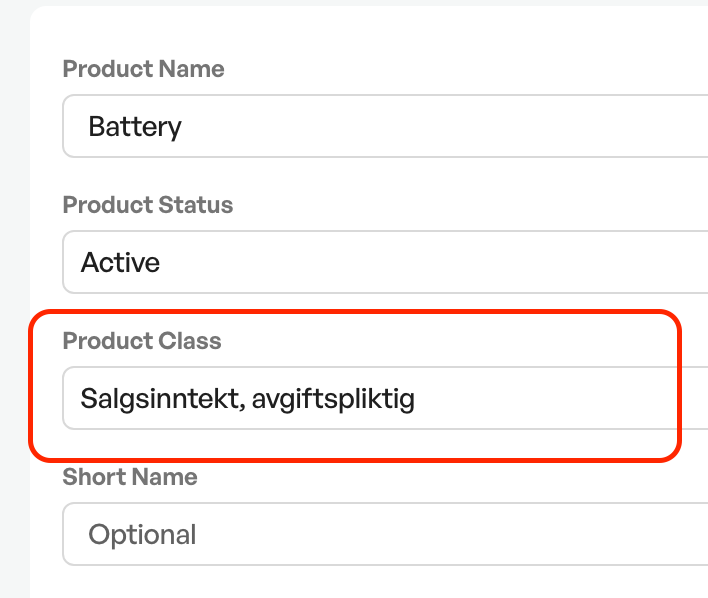
On the product card, below the product name and status, you find the product class field. All products must have an associated product class in order to be transferred to the accounts via a batch. To select the product class, click the 'Prod.kl' field and choose the desired class. Remember to save the changes by clicking the save button.
By selecting a product class on a product, invoicing will create a batch, which is then sent to the accounts, whether accounting is integrated or done manually. The batch contains details from the invoice, so that the products are posted correctly.
Custom fields
Located under the finance settings in product classes is the field "Custom Fields in this class"
Product classes give you the option to add custom fields that are shown on the product card or order lines for products belonging to the class.
Tip: Custom fields will also be attribute fields in the Telaris web shop
Setup
In the example image below, a new text field for the product card has been set up on the product class. To save the field on the class, click the green plus sign on the right

This is then shown on the product card as in the image below, and becomes a free-text field for extra information that is added
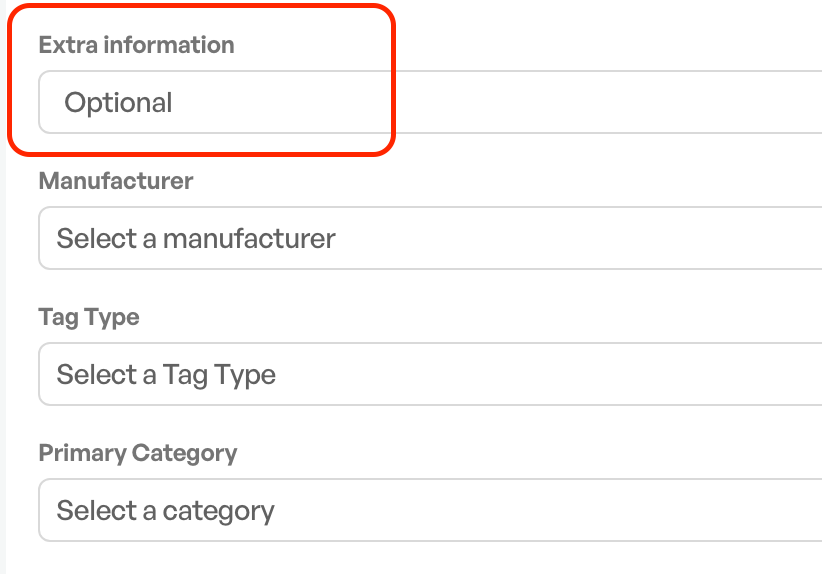
Field name:Name of the custom field shown on the product card or in the order lines
Setting option:Which type of field it should be. Numeric, dropdown, text etc.
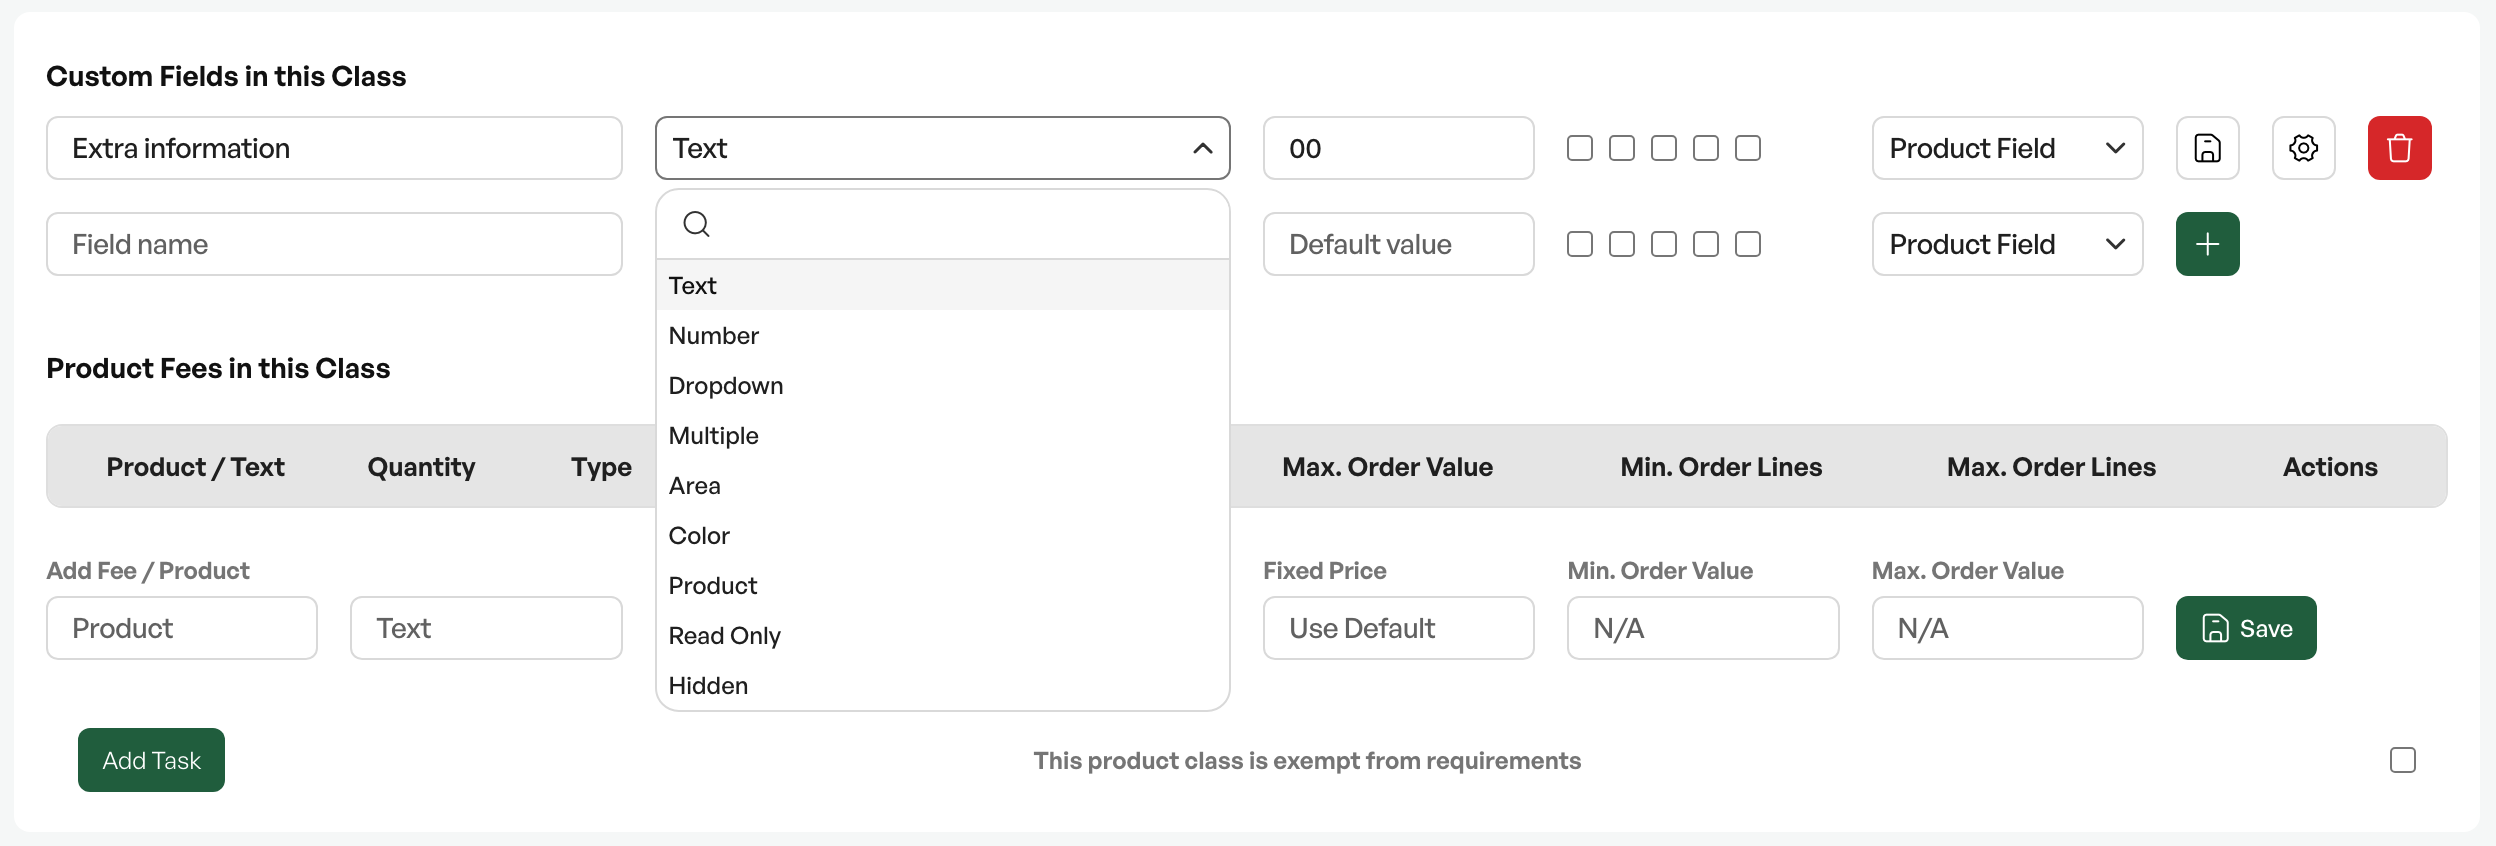
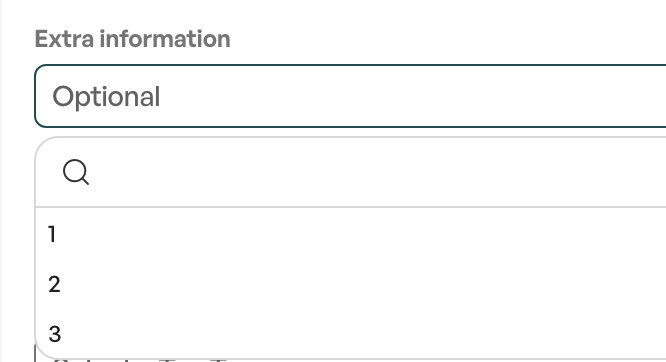
If you want numeric values, they are entered in the field like this: "1|2|3"

On the product card you then get a dropdown with the three options set in the custom field on the product class:
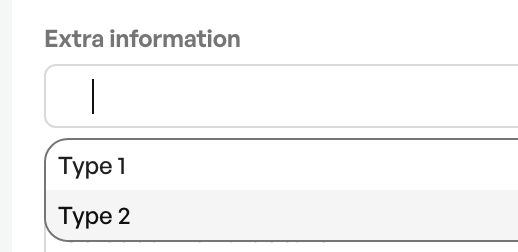
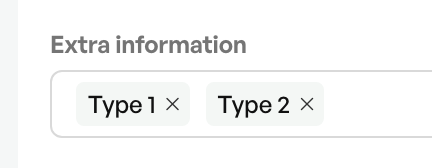
The same method of separating options in a list also applies when using the "Multiple" field. This option lets you select several options that are saved on the product card.

Display on order lines
Configure the field to be an order-line field

The custom field is then shown on the order line in the order view.
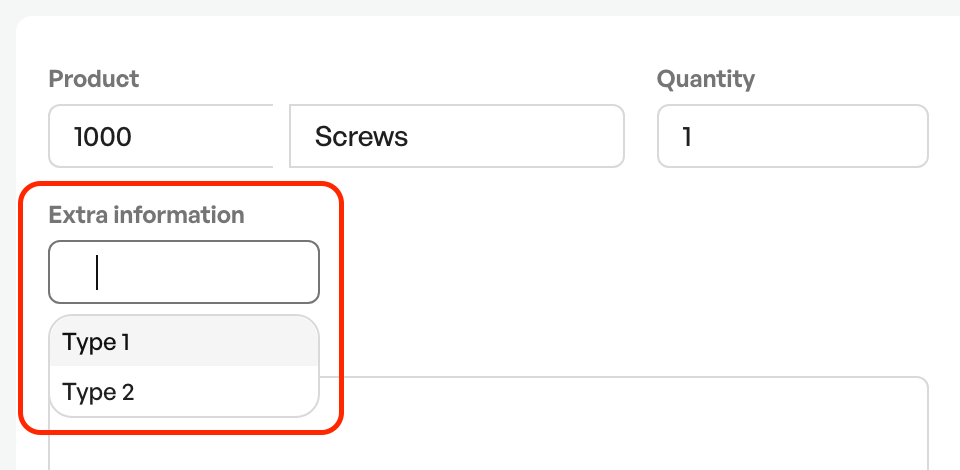
Note: Custom fields from a product class are not shown on forms by default and must be ordered from Telaris
Default value:Which value should be the default in the field
Product field/Order-line field:Option to show the field either on the product card or on order lines
Optional settings:
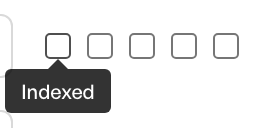
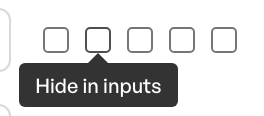
You also have options to make a Custom Field active by making it searchable from the product list, hiding it in input, hiding it in order lines, hiding it in reports and hiding the field in the Telaris web shop

Was this article helpful?
That’s Great!
Thank you for your feedback
Sorry! We couldn't be helpful
Thank you for your feedback
Feedback sent
We appreciate your effort and will try to fix the article